Paving & Patios
''Create a stunning new patio that suits you, and one you can enjoy for many years to come''
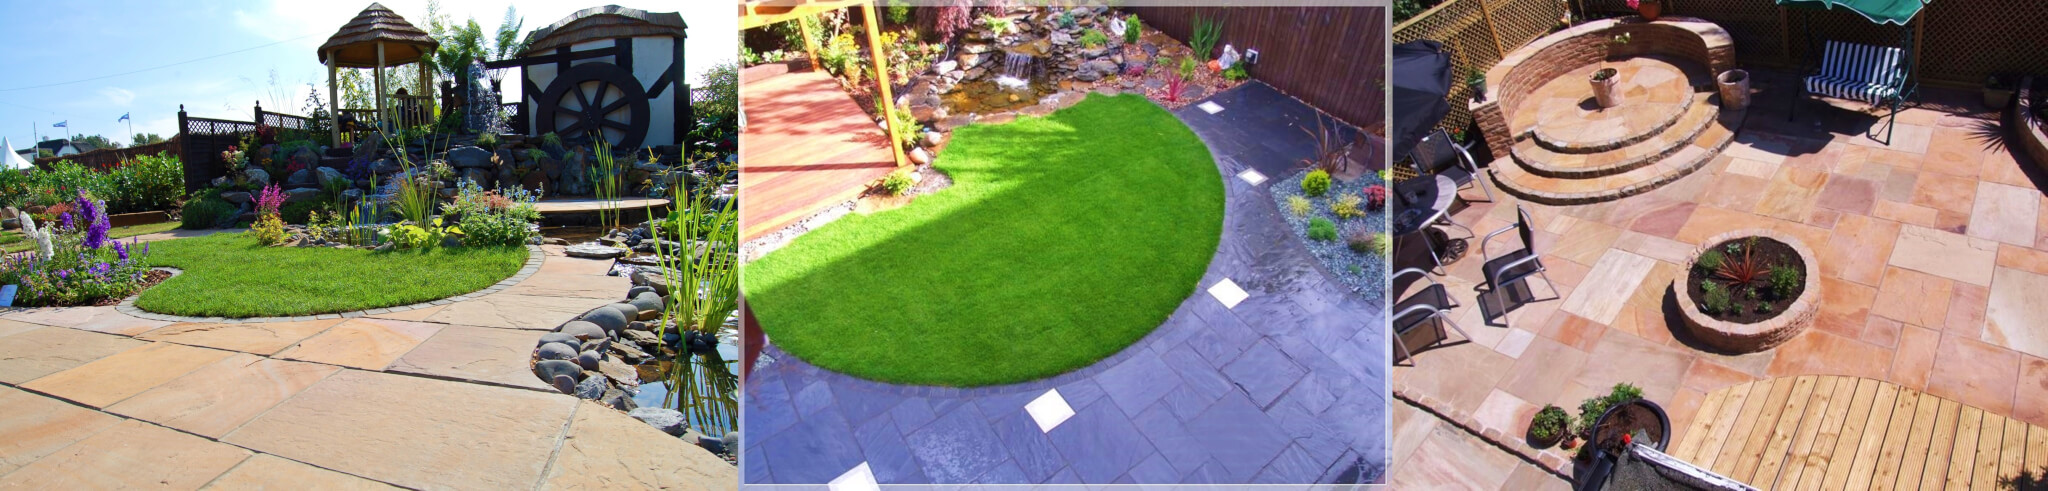
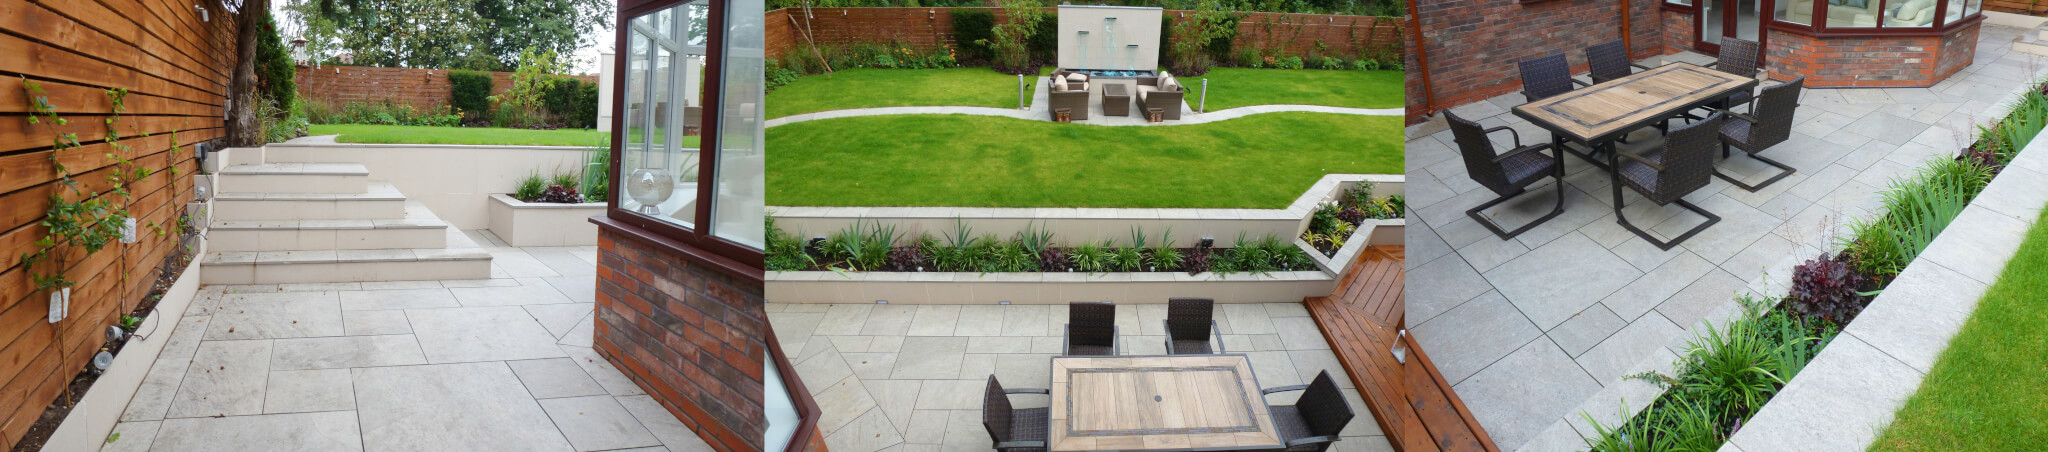
Paving patios are a beautiful asset to a rear garden. They bring so many benefits to your home and offer many exciting possibilities.
A nice patio is a worthwhile investment. Not only can you utilise the space for relaxing and entertainments, but when it comes time to sell your place, your patio can make your house more appealing.
Choosing the right materials for your patio
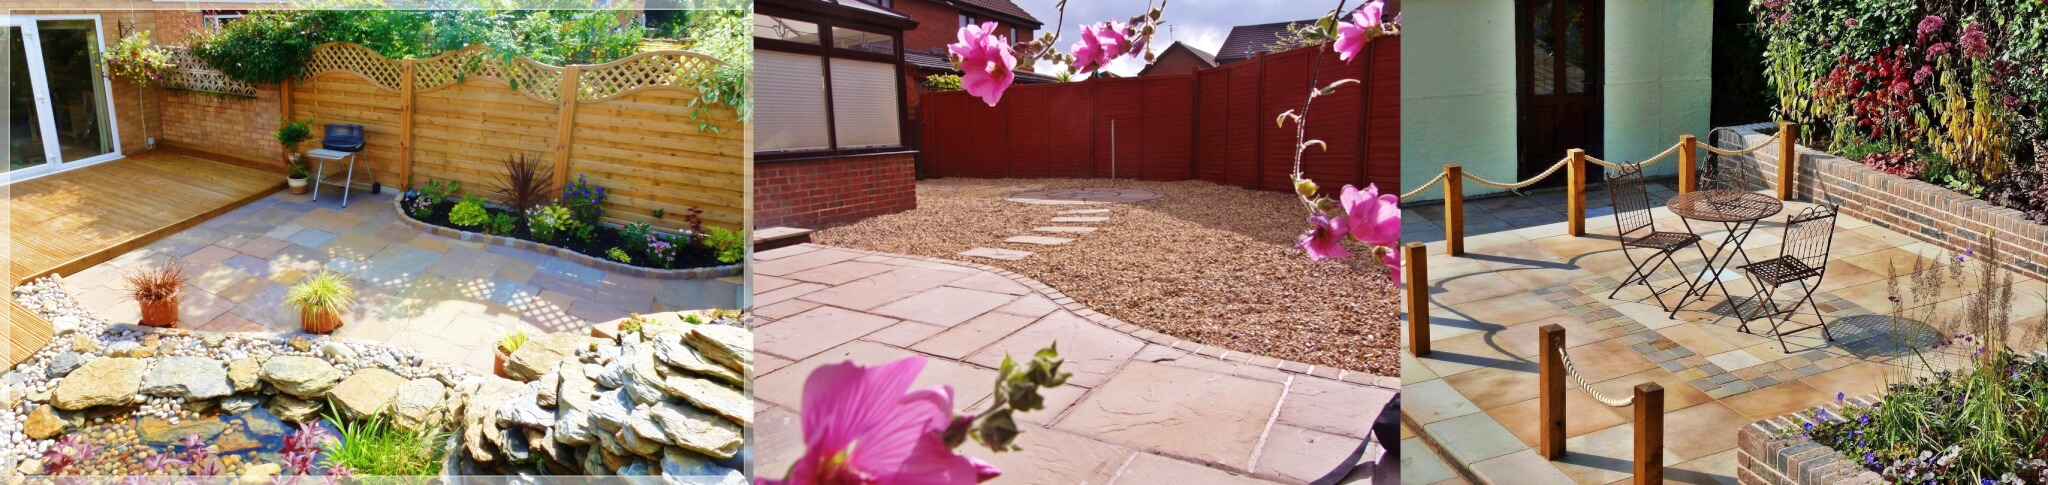
When you’re looking to transform your garden space with a patio, the choices can be overwhelming. From paving designs to stone selection and size, ensuring that your new patio suits both your garden and your property. There are so many different types on the market today that it’s not easy to decide which is the best, and it is an important decision because the type of surface you choose defines the character of your patio.
”The choice of the Paving slab and the design of your patio needs to be in keeping with the character of your house and garden. ”
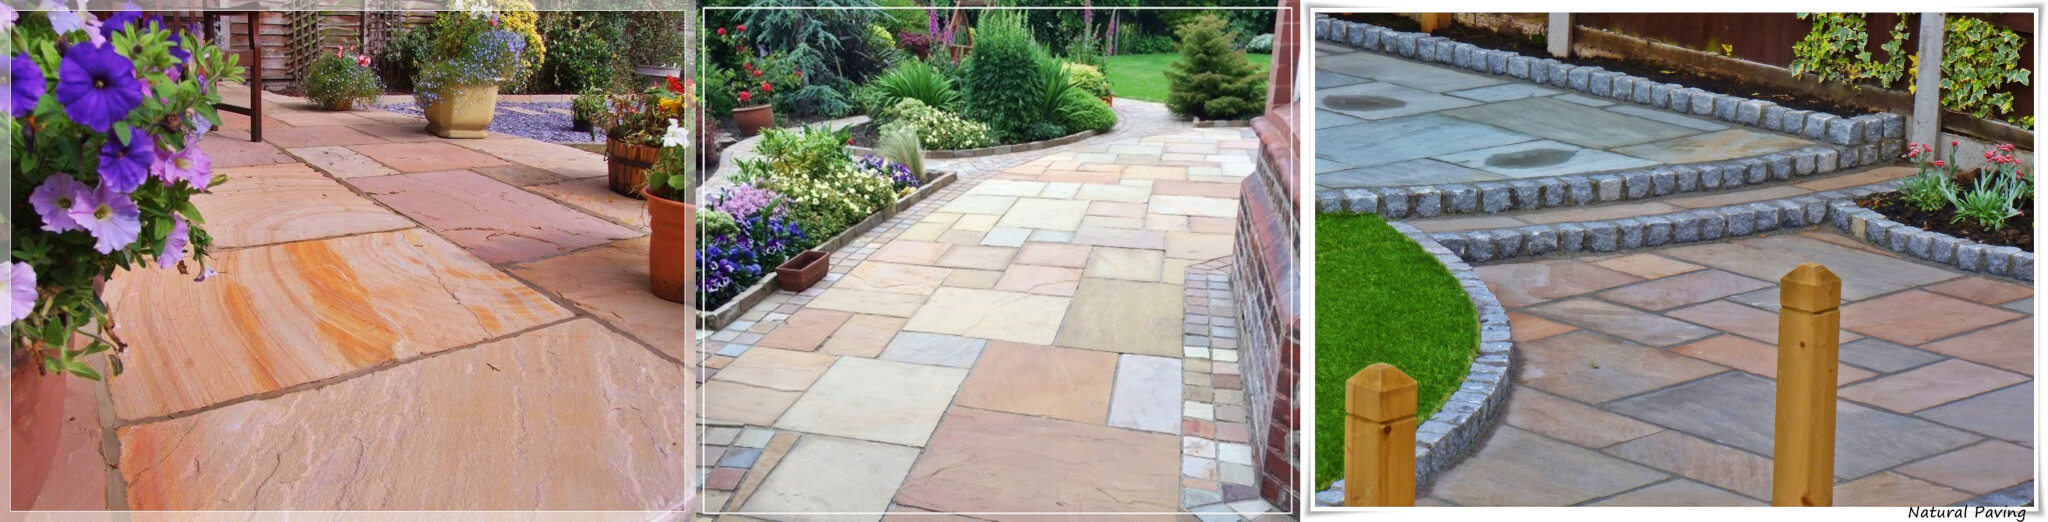
Natural Sandstone
Natural Sandstone paving has become increasingly readily available over recent years, largely coming from Indian quarries. It’s natural colour variations and profile makes for an interesting patio which can work well in period or modern surroundings. Natural Sandstone Paving a very popular choice for a wide range of uses. It is available in a range of colours and can be bought roughly hand cut (to keep its natural appearance) or sawn (which gives a smooth, flat surface for a more modern look).
”If you are looking for a seriously premium look for your garden why not consider using natural stone”
If you are looking for a natural look, nothing beats natural stone paving for a patio. Natural stone is available in many different types of to choose from including flagstone, sandstone, limestone, slate, or granite.

”Natural granite paving slabs are a beautiful paving option for your patio or any other outdoor area”
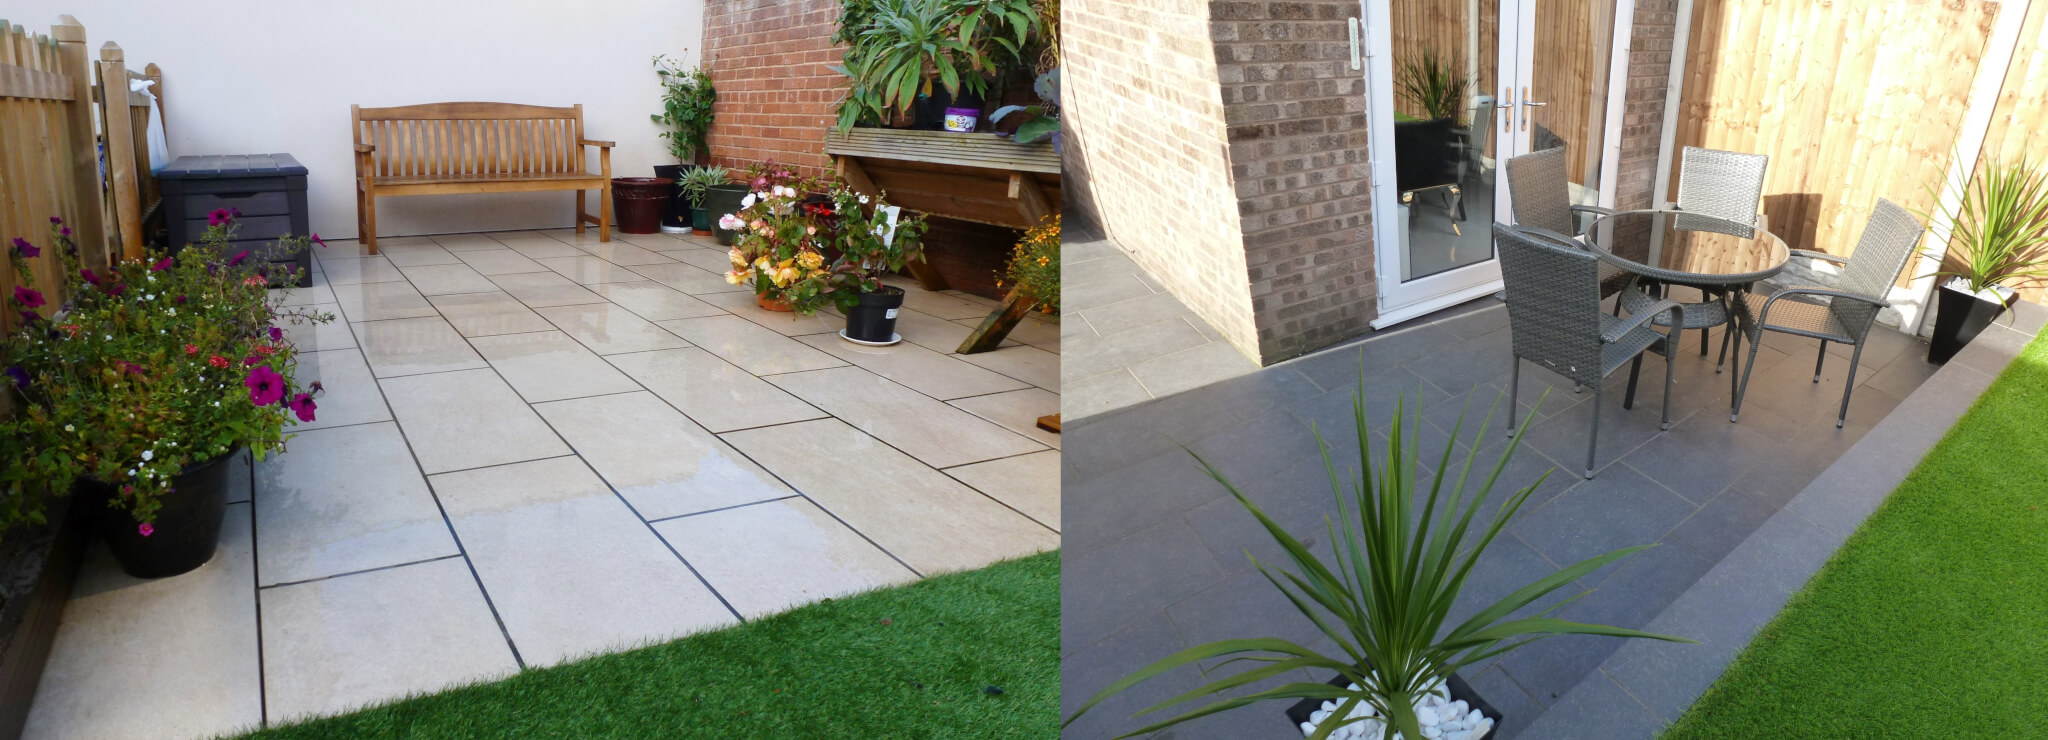
Contemporary Paving
Contemporary paving provides clean, sharp lines and angles combined with bold, consistent colouring to provide a modern, cutting-edge and somewhat fashionable design which is perfect for minimalist, contemporary surroundings. Manufacturers of Contemporary paving usually aim to offer improved functionality, such as the slabs being easy to clean.
”Symphony Vitrified Paving gives your garden a chic and contemporary look”
Our popular Installation Symphony Vitrified Paving:-
Combining fantastic strength and technical consistency, the SYMPHONY range is a great choice for customers needing flags that look great and stay looking great. SYMPHONY is a vitrified paving material, meaning that it absorbs little or no moisture, offering few opportunities for moss and algae to grow.
Available in a range of authentic appearances and textures; SYMPHONY paving promotes a stylish and contemporary appearance that will appeal to homeowners of all property types.

” High fidelity production provides all the advantages of a low-maintenance paving with eye-catching elegance and contemporary designs that feature authentic patterns and textures. The vitrified process ensures reduced water absorption, less staining and easy cleaning underpinned with tough long lasting performance.”

”A modern house will suit more contemporary paving styles, while traditional paving lends itself well to period properties.”
Marshalls 10 Years Guarantee
Abel Landscaping is a Marshalls Accredited Landscape Contractor and Driveway Installer who always produces top quality projects. We have been on the register of Marshalls Contractors since it began in the year 2000.
Only a Marshalls Register Installer can offer you the unique Marshalls Hard Landscape Guarantee. The guarantee protects your investment with a level of cover unmatched by any other company
|
”Selecting the right stone for your garden patio paving will set the tone for your outdoor space. Choose a design that fits in with your property as well as your garden”
..
If you would like a quotation on your project or any advice, even design ideas. Please get in touch we more than happy to help.
Call us today 0330 119 3333
What Our Customers Say
Many thanks to Abel Landscaping for a great job they did in transforming our drive and front garden. We are delighted with the quality and look of the finished job. Very good service from a highly professional and efficient company. Helpful initial design ideas from Darren with options all priced for us to make the final choice. Work was stated very promptly and afterwards and the exceptionally hard -working, polite and friendly tradesmen who managed to complete the whole job in just five days .
Amazing!
Ken LewisRuncorn